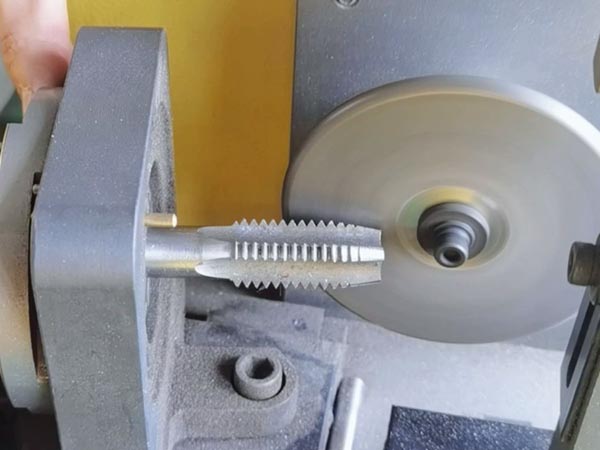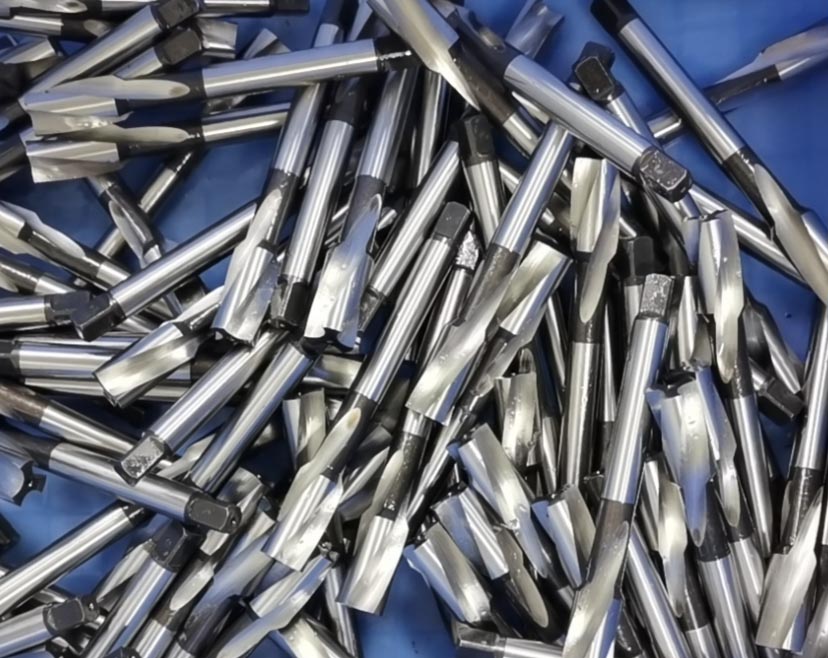
In the field of thread machining, tap wear is a significant factor that leads to oversized threaded holes. To provide a professional explanation, it is necessary to analyze cutting principles, wear types, cutting parameter effects, and material characteristics. By using specific data and examples, we can better understand how tap wear influences hole size and how to control it.
1. Types of Tap Wear and Quantitative Analysis
Tap wear generally falls into several categories, and its severity is typically measured in actual usage conditions.
1.1 Flank Wear
Flank wear is primarily associated with the hardness of the material being cut, cutting speed, and feed rate. The wear amount on the flank face is often represented by the VB value (the width of the worn area on the cutting edge). For example, wear values reaching 0.2-0.5mm indicate severe wear, signaling that the tap needs to be replaced.
1.2 Rake Face Wear
Rake face wear directly impacts the tap’s effective diameter. If the initial tap diameter is 6mm and wear reduces it to 5.95mm, the threaded hole will be larger than the standard tolerance, leading to an oversized hole issue. Data shows that when flank wear exceeds 0.3mm, the hole diameter tends to exceed the allowed tolerance limits.
1.3 Chipping and Micro-cracks
Chipping often occurs when machining harder materials like hardened steel or high-alloy steel. When the cutting edge of the tap chips or develops micro-cracks, it reduces cutting effectiveness and leads to oversized holes. If the chipping width reaches 0.1mm, the hole diameter can increase by 5-10μm.
2. The influence of tap wear on hole size and experimental data
a. Wear can dull the cutting edge of the tap, reduce cutting efficiency, and lead to an increase in the diameter of the hole.
b. Wear and tear can also increase the cutting force of the tap, further exacerbating the increase in hole diameter.
c. Wear and tear may also cause increased friction between the tap and the workpiece surface, resulting in an increase in surface roughness of the hole wall, further affecting the quality of the hole.
Multiple experiments show a direct relationship between tap wear and hole size. Below is a case study:
Experiment conditions: A high-speed steel M6x1 tap was used to machine 45# steel (HRC30-32 hardness) at a cutting speed of 30m/min, with a feed rate of 0.15mm/rev and standard water-based coolant.
Results: After machining 6000 holes, wear was detected on both the rake and flank faces, and the average hole diameter increased to 6.15mm (the standard should be 6.0-6.02mm).
Analysis: As the number of holes machined increased, flank wear reached 0.25mm, and chipping appeared on the cutting edge, resulting in progressively larger hole diameters with a deviation of 0.15mm.
Case Study and Supporting Data
Using an M8 tap, the following is a detailed comparison of wear and hole diameter changes:
Tap wear amount (VB value): 0.1mm; hole diameter deviation: +0.05mm.
Tap wear amount (VB value): 0.2mm; hole diameter deviation: +0.12mm.
Tap wear amount (VB value): 0.3mm; hole diameter deviation: +0.2mm.
As wear increases, the hole diameter gradually exceeds standard tolerance ranges.
3. Reasons for tap wear
3.1 The Influence of Cutting Parameters on Tap Wear
Cutting speed, feed rate, and cutting depth significantly affect tap wear and consequently, hole size.
a. Cutting Speed
Cutting speed is one of the most critical factors affecting tap wear. At higher cutting speeds, friction between the tap and the material generates more heat, accelerating wear. Data shows that increasing the cutting speed from 20m/min to 40m/min increases tap wear by 1.5 times, worsening the oversized hole problem.
b. Feed Rate
A higher feed rate increases the cutting load on the tap, speeding up wear. Proper feed rates should be tailored based on material hardness and the geometry of the tap. A 10% increase in feed rate results in 0.05mm more wear, leading to a hole diameter deviation of 0.02-0.03mm.
c. Cutting Depth
The cutting depth also affects tap lifespan. For deep hole or blind hole tapping, excessive cutting depth increases chip removal resistance and causes early cutting edge wear. For blind hole machining, it is recommended to keep the cutting depth within twice the tap diameter.
3.2 Material Characteristics and Their Effect on Tap Wear
The properties of the material being machined (such as hardness and toughness) greatly influence wear:
Soft steels (e.g., 45# steel): The main wear issue is cutting edge dulling, and tap lifespan is relatively long. Hole diameter deviations are usually between 0.05-0.1mm.
Hard materials (e.g., hardened steel or stainless steel): The high hardness and heat generated during machining accelerate chipping and cracking, leading to hole size deviations of over 0.15mm after machining 1000-2000 holes.
3.3 Improper use
Improper use, such as excessive pressure or insufficient cutting lubrication, can also accelerate the wear of the tap.
3.4 Improper selection of tap material
Improper selection of tap material,such as insufficient hardness and wear resistance, can also lead to increased wear of the tap.
3.5 Long term use of taps
Long term use of tapscan cause wear on the cutting edge, especially when dealing with materials with high hardness.
4. Solution for Reduce Tap Wear and Control Hole Size
To address oversized hole problems caused by tap wear, several effective solutions are available:
4.1 Use High-Performance Tap Materials
Taps made of wear-resistant materials (such as cobalt alloy, carbide, or Ti-coated taps) can significantly extend tool life and reduce wear. For instance, using Ti-coated taps to machine 45# steel can increase tap life by 30%, reducing hole size deviation to less than 0.05mm.
4.2 Optimize Cutting Parameters
Setting appropriate cutting speeds and feed rates reduces tap load and minimizes wear. A cutting speed of 20-25m/min and a feed rate of 0.1-0.15mm/rev are generally effective in extending tool life.
4.3 Improve Cooling and Lubrication
Using high-efficiency coolants can lower cutting temperatures and reduce wear. High-pressure cooling systems can improve cooling performance, extending tap life by 20-40%.
4.4 Regular Inspection and Maintenance
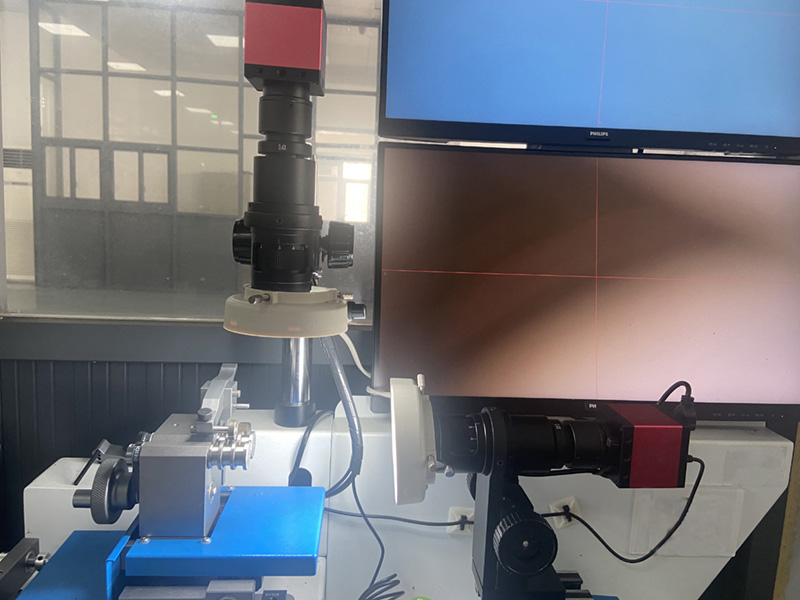
Using online or offline measurement systems to monitor tap wear in real-time allows for timely tap replacement, preventing oversized holes due to excessive wear.
5. Conclusion
Tap wear is the main cause of oversized threaded holes, especially in mass production. As usage continues, wear accumulates, leading to hole size deviations. By employing high-performance tap materials, optimizing cutting parameters, improving cooling, and implementing regular monitoring and maintenance, it is possible to control tap wear and minimize occurrences of oversized holes.
OEM Capability
 We like to do design according to all the customers' requirements, or offer them our new designs. With strong OEM/ODM capabilities, we can fill your sourcing demands.
 Categories
| HSS-PM Taps | HSSE-M42 Taps |
| HSSE / HSS Taps | Spiral Flute Taps |
| Straight Flute Taps | Spiral Point Taps |
| Multi-function Taps |
| Solid Carbide Drill Bits | Twist Drill Bits |
| Center Drill Bits | Indexable U Drills |
| Flat-end Milling Cutter | Ball Nose End Mills |


